Contents
1. Why do you need a DIY glittery snow globe tumbler?
2. What materials do you need for a glittery snow globe tumbler?
3. What liquids are put into the glittery snow globe tumbler?
4. What is the ratio of different liquids in a glittery snow globe tumbler?
5. What are the tips for making a glittery globe snow tumbler?
6. FAQ – How to make a glittery snow globe tumbler?
7. Conclusion
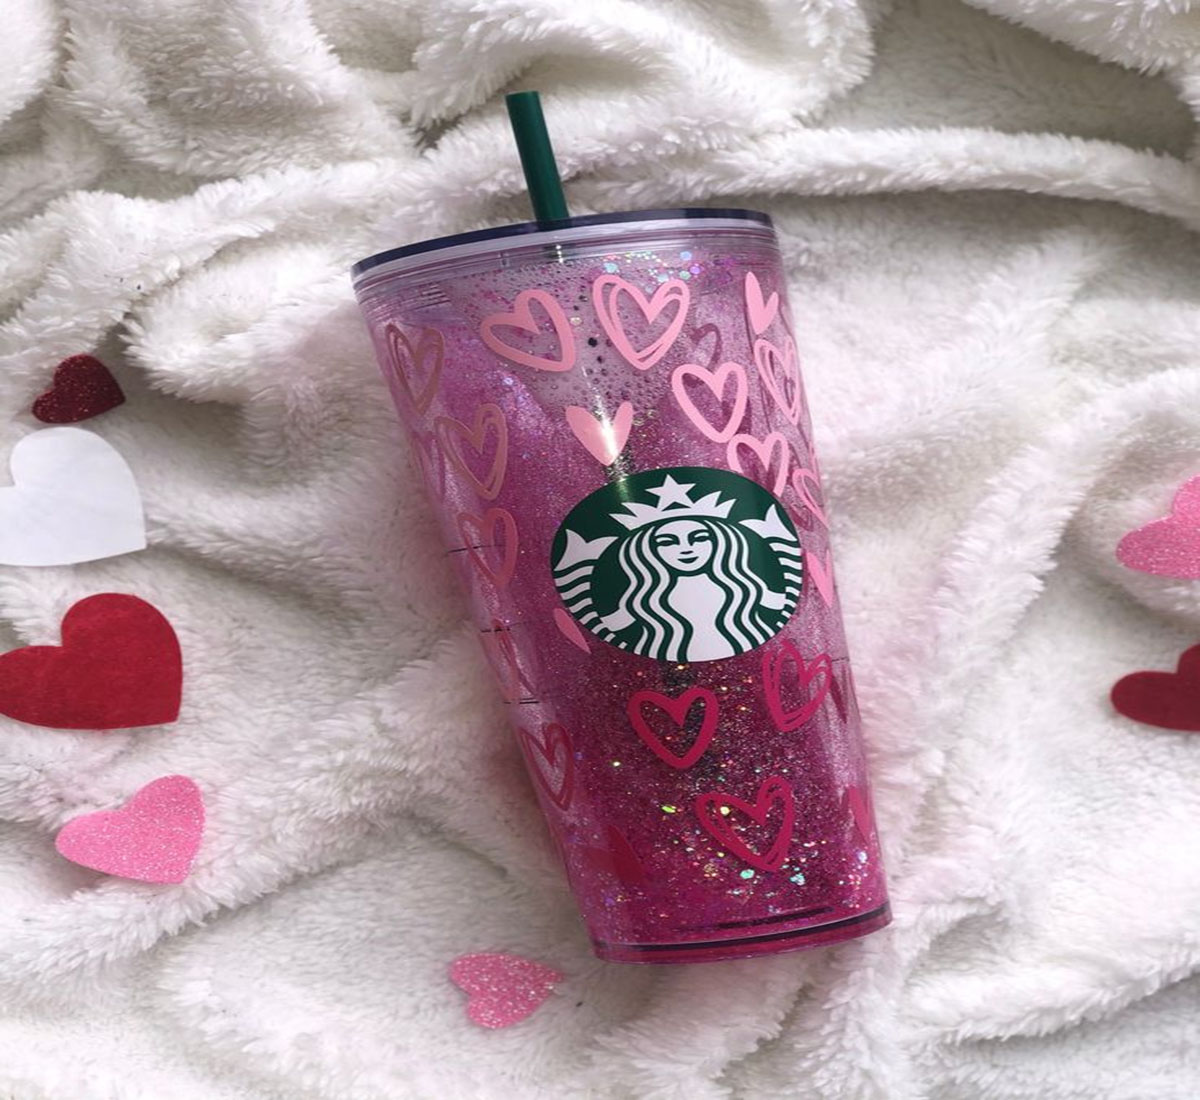
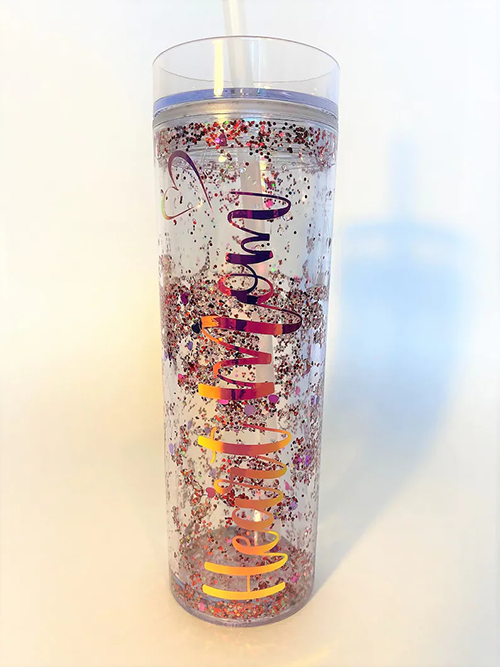
When the “glittery snow globe tumbler” firstly take a hit on internet, appearing on different websites and social medias, you may not be sure what kind of impacts would this transformed cup in creative ways bring to out lives.
However, you actually try it and then you can realize the pleasure brought by it. Even a small thing can have a helpful effect to your daily life. With small things commonly seen in our daily life and less money, you can get a shiny and special tumbler with unique designs. Such DIY glittery snow globe tumblers can not only free you out of stereotyped products on sale, but also save you money. Most importantly, you can design the tumblers based on your needs and likes. If you like colorful things, you can add glitters of varied colors; if you want you tumbler to last longer, you can choose blank stainless steel tumblers as your DIY material.
Now, follow KingStar to custom a unique and beautiful glittery snow globe tumbler for yourself, your friends and your families!
1. Why do you need a DIY glittery snow globe tumbler?
Reading here, many people may still be confused about the reasons why I need to have a glittery snow globe tumbler customized by myself. Well, there actually are many good reasons for that. To better help you, KingStar gathers several mainstream views as follows.
- A way to get fun and relax: Nowadays, most people have to face different trifles as well as numerous tasks, bringing both mental and physical problems caused by pressures. And our doctors usually suggest us find ourselves outlets to relax ourselves. At the moment, DIY could be a good way to achieve this goal.
- A way to be creative: It is wonderful chance for you to put all of your creative thoughts into practice by designing a snow globe tumbler with your own hands. Your strange and creative thoughts will be shown in this unique tumbler.
- A great present for people around you: If you have been struggling to consider a gift for others, a glittery snow globe tumbler may be a good gift choice. Add elements liked by your friends into the tumbler and your friends will be touching by this gift from your heart.
- A meaningful activity to be with kids: Making a snow globe tumbler also can be a creative craft activity for kids. During hand-making process, kids will improve their abilities at making products with own hands as well as creative thoughts. Besides, parents can utilize this chance to be with kids, which is superior meaningful!
Metal Tumbler 20 oz
$2.15-$3.16
Insulated Tumbler 30 oz
$2.59-$3.90
Skinny Tumbler 20 oz
$2.35-$3.26
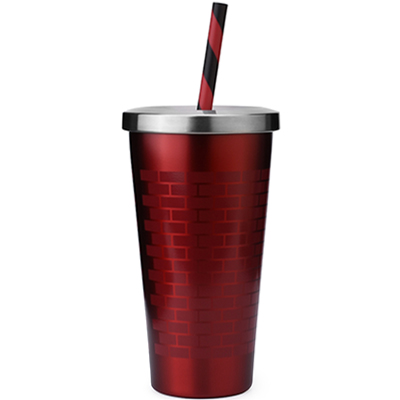
Tumbler with Straw 18 oz
$3.25-$3.95
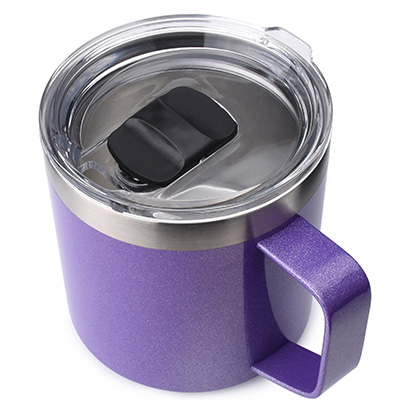
Insulated Rambler Mug 14 oz
$5.51-$6.31
2. What materials do you need for a glittery snow globe tumbler?
A Chinese proverb puts it this way: “ You want to go to the dance, you gotta wear the shoes.” This means that good materials are tools are essential things for our works. So you have to get following materials prepared before transforming an ordinary tumbler into a special glittery snow globe one.
- Drill
- Distill water
- Glycerin
- Epoxy
- Arcylic double-wall tumbler
- Glitter
- Mixing stick
- Mica with subtle silver shimmer
- UV light
- Syringe or pipette
- Rubbing Alcohol
- Paper Towel
- Bowl
- Measuring cup
- Clear Clue
- tape
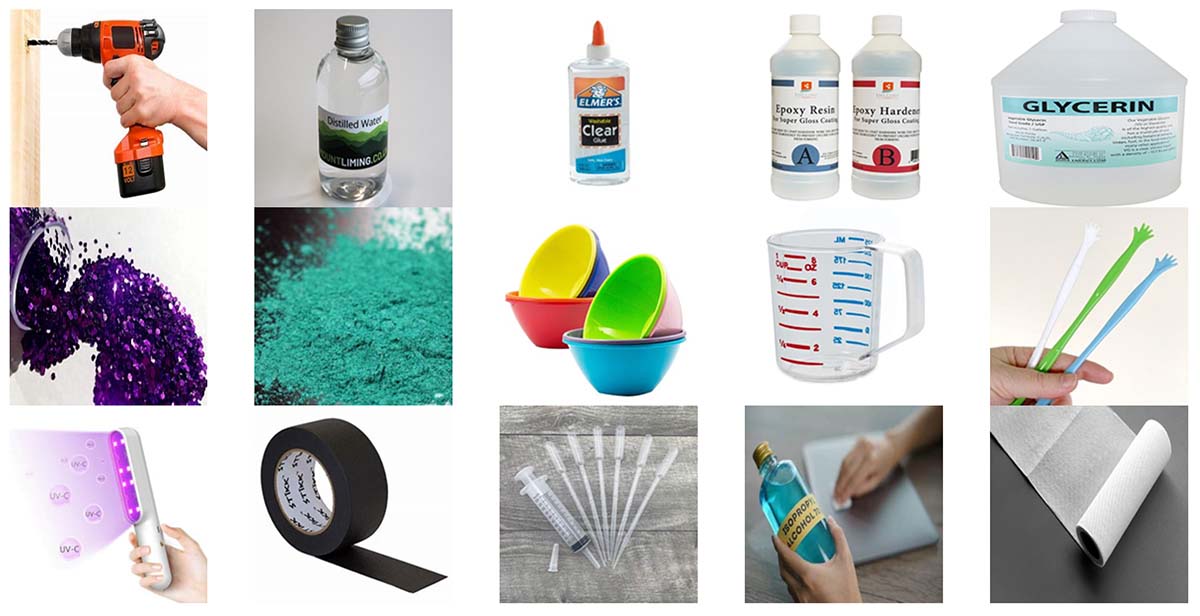
(The picture is only for reference, please make the object as the standard.)
3. What liquids are put into the glittery snow globe tumbler?
Generally speaking, glycerin, water and clear clue are commonly used as liquids in the snow globe tumbler. Of course, the baby oil at your home can be added as the inside liquids.
But clear glue or glycerin and water should be your best materials instead of baby oil, cause its tumbler is made from plastic and the baby oil features with a stronger consistency.
If your a novice for making the snow globe , just add half of water and glycerin(half of clear clue) so as to mix the liquids with glittery more easily without failure.
After everything mixed well in the container, put it into the tumbler and then add glittery. And shake the tumbler, you will find the glittery float inside with the help of these liquids, looking so pretty!
4. What is the ratio of different liquids in a glittery snow globe tumbler?
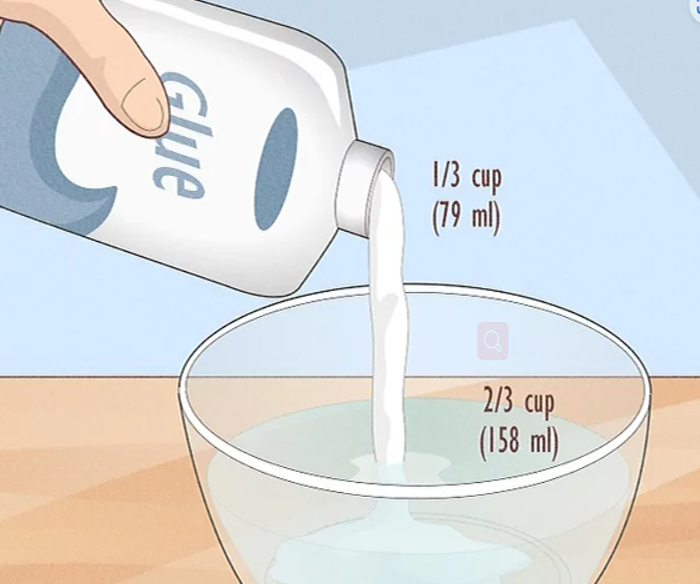
Usually, one third cup of clear clue (79 ml) and two thirds cup of distill water (158ml) are the best ratio for the suspension solution in a snow globe tumbler. This ratio is just right, avoid making it messy after adding glittery.
Of course, you can also try another ratio if you prefer other styles that more glittery stay at the bottom of the tumbler. To achieve this, you can try for yourself! After trying experiments several times, you can find what you want. Here, KingStar would like to suggest that less than 1/4 cup or more than 3/4 cup may help you work out. More clear glue will make glitter move slowly while more water more quickly.
Compared with clear clue, vegetable glycerin has less thick consistency, making your glitter move smooth in the tumbler.
5. What are the tips for making a glittery globe snow tumbler?
Above is some basic knowledge for your better practice later. Now, follow the detailed tips from KingStar to make the hot glittery snow globe tumbler.
Drilling the Tumbler
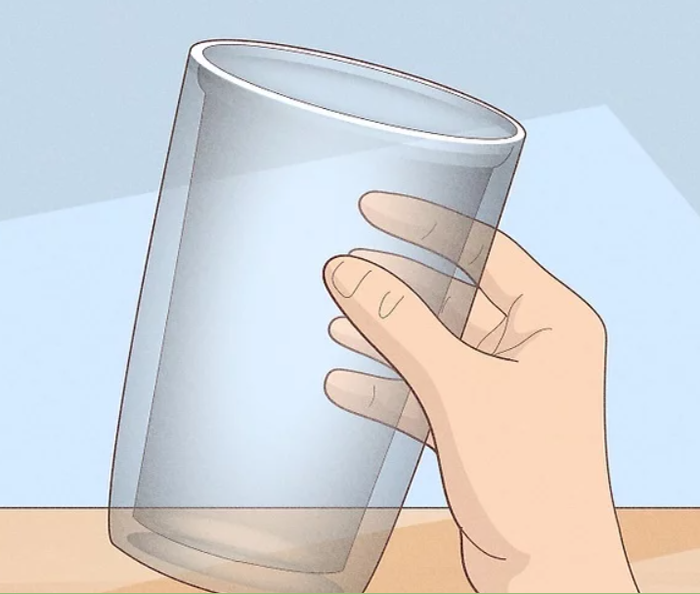
- Choose a clear arcylic double-wall tumbler. Pay attention to the gap between the external and inner layer of the tumbler. The bigger the gap is, the easier for you to get a hole for adding glitter. Besides, size and shape are based on your own needs.
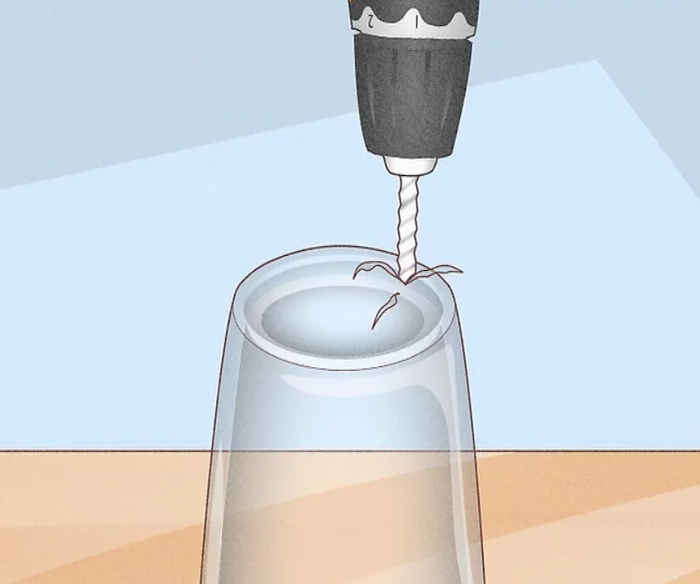
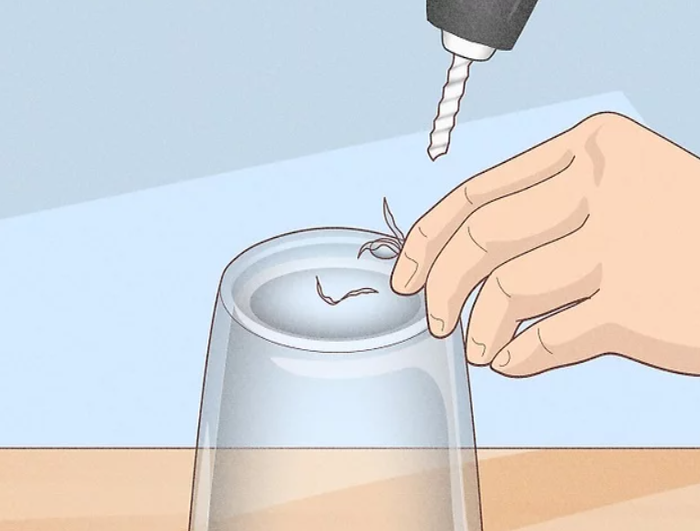
- Make a hole at the bottom of external layer with your drill. A 5/16 drill bit is enough. Take it slowly while drilling and stop once you get a hole on the external layer of the tumbler.Notice: If you don’t have a drill or don’t know how to use a drill, you can replace it with a hot-fix tool. You can use a concave attachment of 7 mm and put the tool at the bottom of the tumbler for about 1 min. A hole appears due to high-temperature melting. But take care of your hands while doing this, don’t hurt yourself!
- Remove the stubborn pieces left by drill carefully by the tweezers. If the plastic hole don’t fall out when you use high-temperature melting, you can put the hot-fix tool on it again and take the hole piece with your tweezers.
Filling the Tumbler
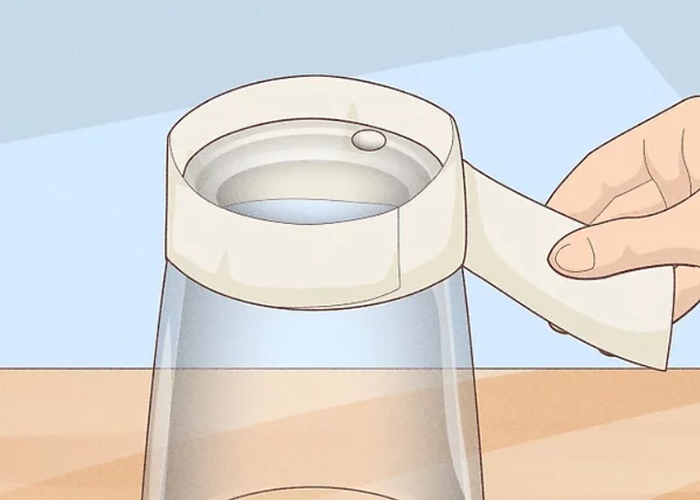
- Use tape to make a barrier around the hole. This action is to avoid glitter spilling over the edge of the tumbler bottom while pouring.
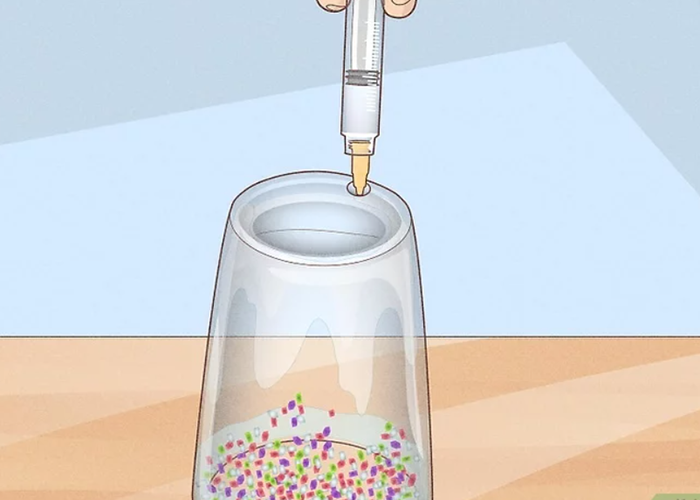
- Mix the distill water and clear glue (glycerin) at a ratio mentioned above in a measuring cup and then add the mixed liquids into the tumbler from the hole. During this process, you can add the liquids with the help of syringe or pipette.
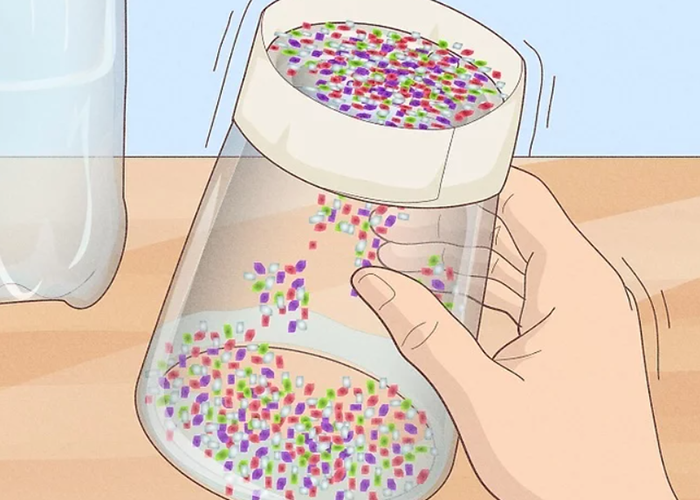
- Add glitter into the tumbler from the hole. Tap the tumbler gently so as to ensure the glittery falling inside. Repeat the tip until your tumbler has a 1-2 cm layer of glittery.
During this process, you can make adjustments. Besides chunky glitter of different colors you like, you can also add mica with subtle silver shimmer. Mixed glitter will bring you more possibilities. - Continue adding liquids mixture into the hole until you reach the top of the whole and then mix glitter with the glue mixture. Put your finger on the hole and shake the tumbler for a better mixture.
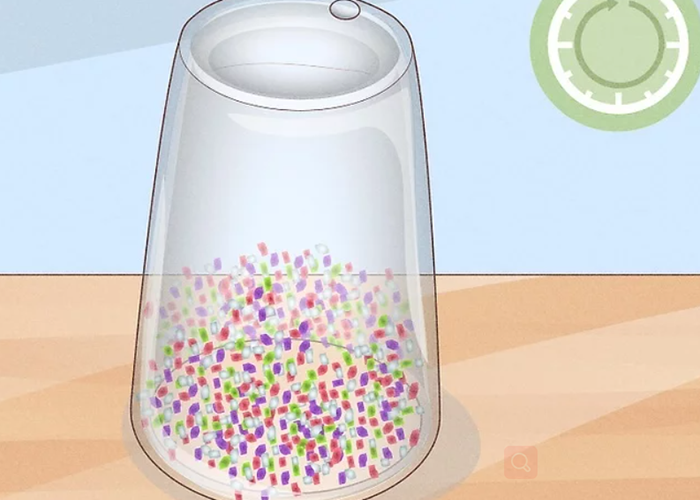
- Place your tumbler stably overnight to remove potential air bubbles. After a night, the air bubbles will appear rise and disappear.
- Check whether your tumbler fills with enough mixture before sealing. If not, add more glue mixture or glitter into the hole.

Seal the Tumbler
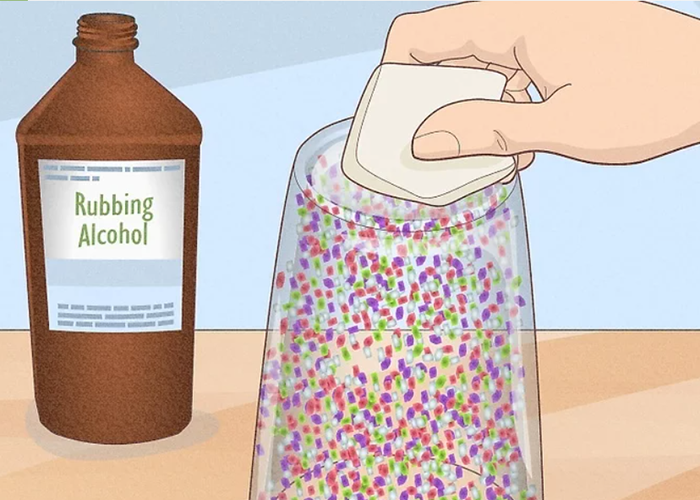
- Use rubbing alcohol to clean the bottom of tumbler. You can add some rubbing alcohol to the paper towel and use it to swipe the bottom. This step is to create a clean and nice base.
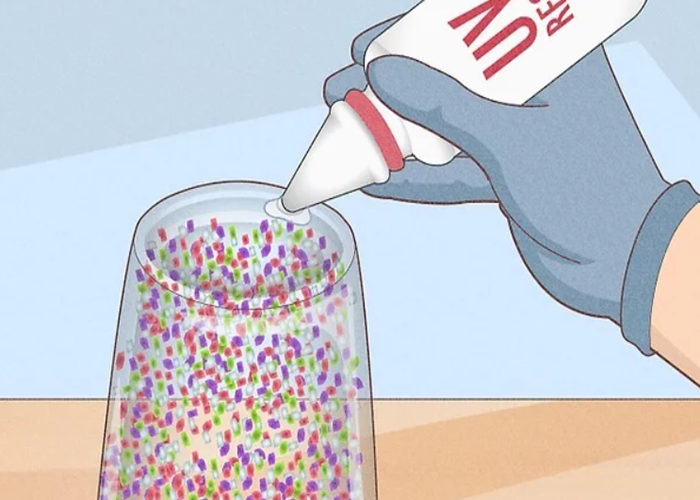
- Add UV resin into the hole. Put your tumbler in a well-ventilated area with shade and squeeze the UV resin around the hole while filling it slowly. This is to avoid air bubbles. Remember to wear gloves and masks during this process. Or you can replace it with a 5-min epoxy. You only need to mix it separately, pour it into the hole and wait for 5 min.
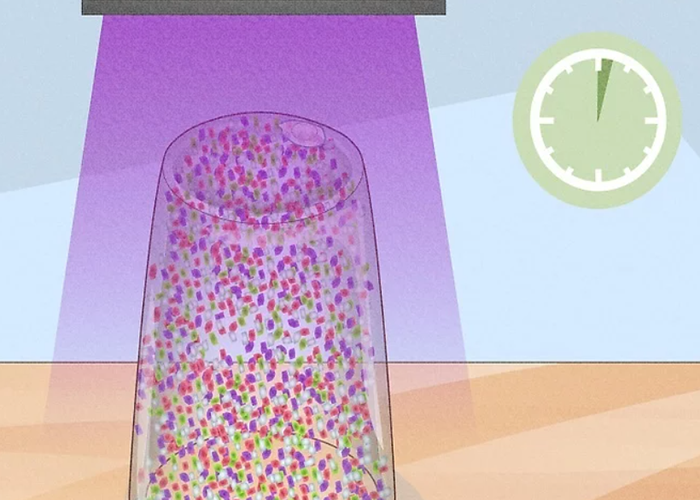
- Cure the resin under a UV light for 3 min. And then flip the tumbler over to check whether any liquids will leak out. If it is, repeat the step before.
- Have the bottom of your tumbler smeared with a silicone brush while wearing gloves. Then cure the bottom under the UV light for 2 min. After curing, your unique snow globe tumbler is done!

6. FAQ – How to make a glittery snow globe tumbler?
6.1 What is the best liquid for making a snow globe tumbler?
Actually the best material would be glycerin. It is a kind of liquid that is clear, non-toxic and odorless. You can buy it in many pharmacies or online.
Besides for making suspension liquids, glycerin can also be used in other areas like cooking or skin caring.
6.2 What is ratio of glycerin and water for the glittery snow globe tumbler?
A recommended ratio for you is a cup of glycerin with three teaspoons of distill water. This will give you enough space for all the liquids and glitter to mix well without spilling.
If you want to make a more beautiful snow globe tumbler, you can also add some food coloring like red, blue or pink before adding glitter.
6.3 Why is the distill water is used while making the glittery snow globe tumbler?
Distill water is to ensure the liquids in your tumbler is clear. This will help you avoid any contaminants that may damage the pretty look of the tumbler.
Distill water can be bought in many stores. Of course, you can also use filtered water or bottled water without minerals or carbonation ( bottled water can be bought in many drug stores), giving you perfect snow globe tumbler.
There is also a cheaper choice for you. You can make your own distilled water. But do remember that it needs several hours to cool down. But you can use a little rubbing alcohol to cool it you If you want your globe to be more clear. Cause the alcohol will avoid any mold growth in your glittery snow globe tumbler.
7. Conclusion
As a leading wholesale tumbler manufacturer, KingStar sincerely hopes that this article can guide you to make a perfect glittery snow globe tumbler. DIY such a unique tumbler is not an interesting activity for you and your families, but also brings you a best tumbler with least cost! If you want more messages, please contact us!

